Homemade Easter decorations
Spring has slowly arrived, and Easter is approaching. Even though Easter doesn’t have the same obsession with decorations as Christmas, we still like to decorate and create a good atmosphere. The colors of Easter are yellow and light green, spring colors that remind us that spring and summer are on their way.
In this blog post, you will get inspiration for a festive Easter garland that you can easily sew from fabric scraps. You will also get inspiration for wrapping small cozy Easter gifts and the Danish tradition of “gækkebrevene”.
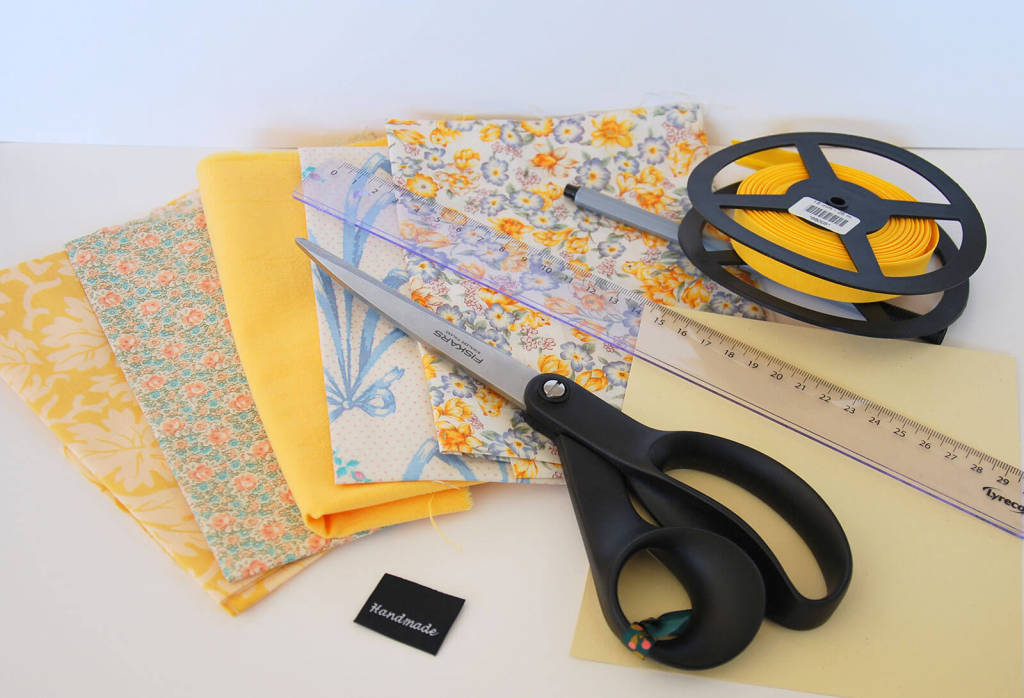
Here’s what you need to make an Easter garland:
- Scissors
- Ruler
- Fabric. If you don’t have fabric scraps, you can find cheap fabric remnants at your local fabric store. Otherwise, you might find discarded clothing at the nearest thrift store. It’s satisfying to give new life to old clothes.
- Trim
- Cardboard
- Labels from Ikast Etikett, for example our “Made by labels“, which are always in stock.
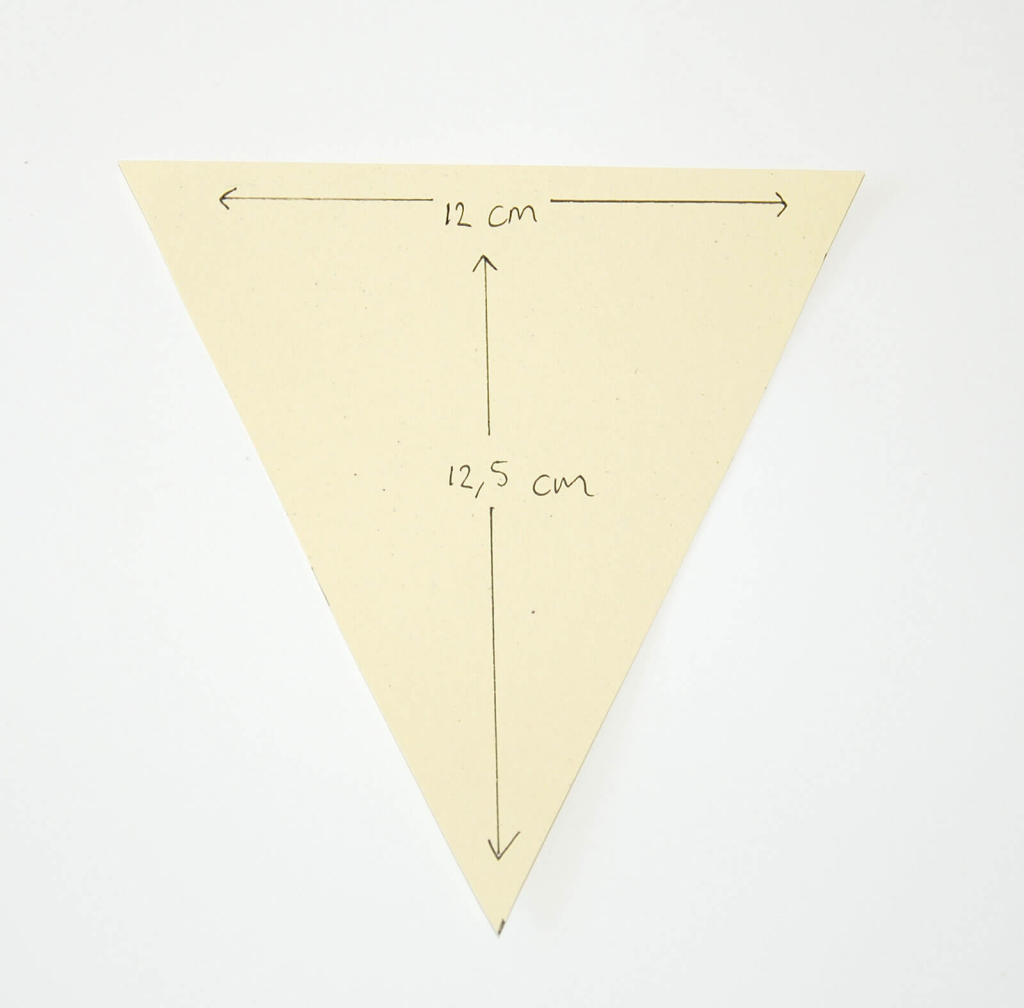
Start by making a template. The ones you see in the picture are 12 cm wide including seam allowance (1 cm) and 12.5 cm from top to point including seam allowance (1 cm).
Place the template on top of the fabric, preferably folded, and trace your flags. Remember that the template includes seam allowance.

Cut out your flags.
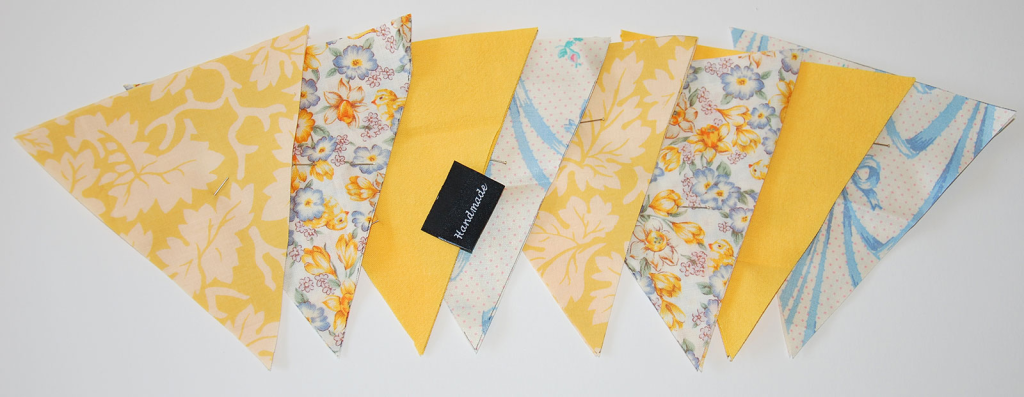
Now you’re going to sew the label onto the fabric. Place it along the edge between two flags, which should be right sides together.
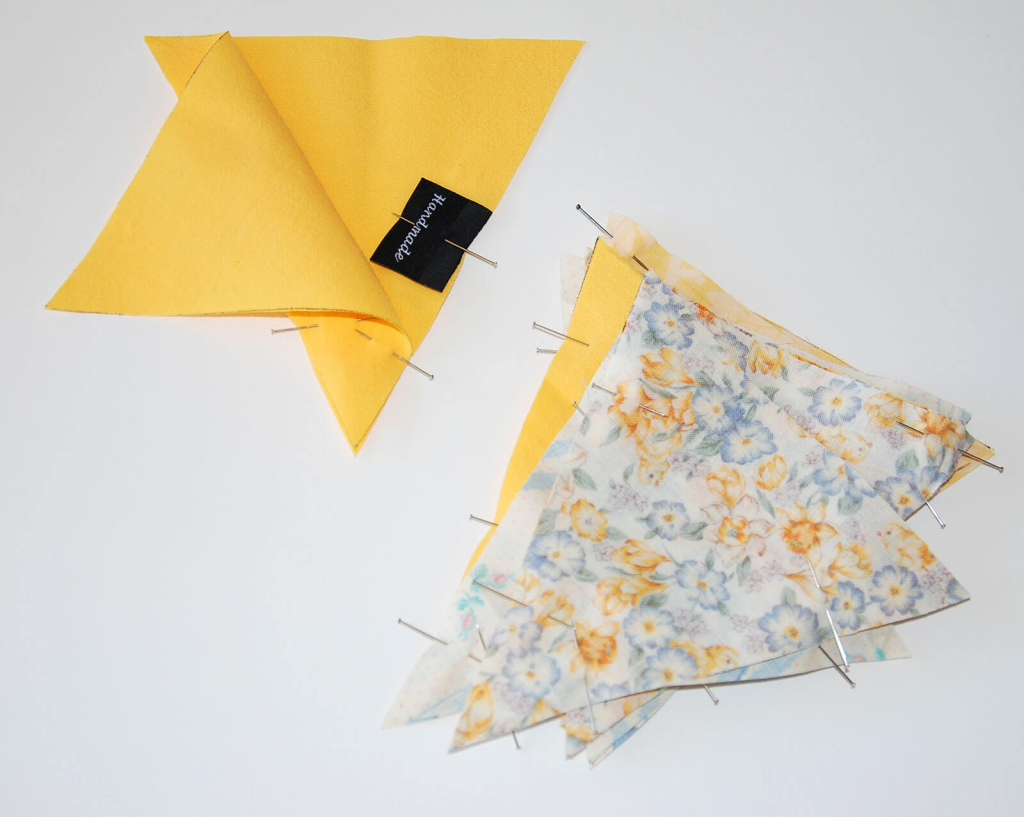
Sew the flags together right sides together on the two sides – the flag should be open at the top.

Cut off most of the seam allowance.

Turn your flags inside out and press them with an iron. Even if you’re lazy and can’t be bothered to get out the iron, do it anyway. It really makes a difference to the result.
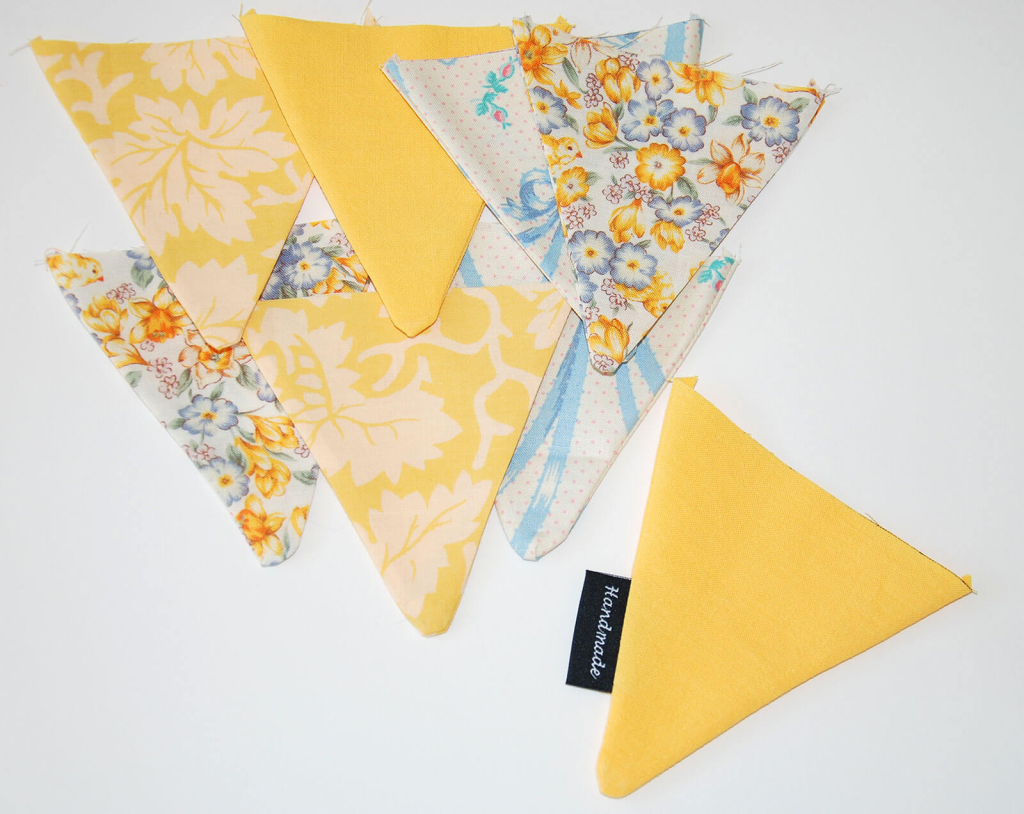
Now you’re going to sew the flags onto the trim. Here, about 50 cm of trim has been used on each end, so there is something to tie with when hanging up the garland. There is a distance of about 5 cm between the flags.
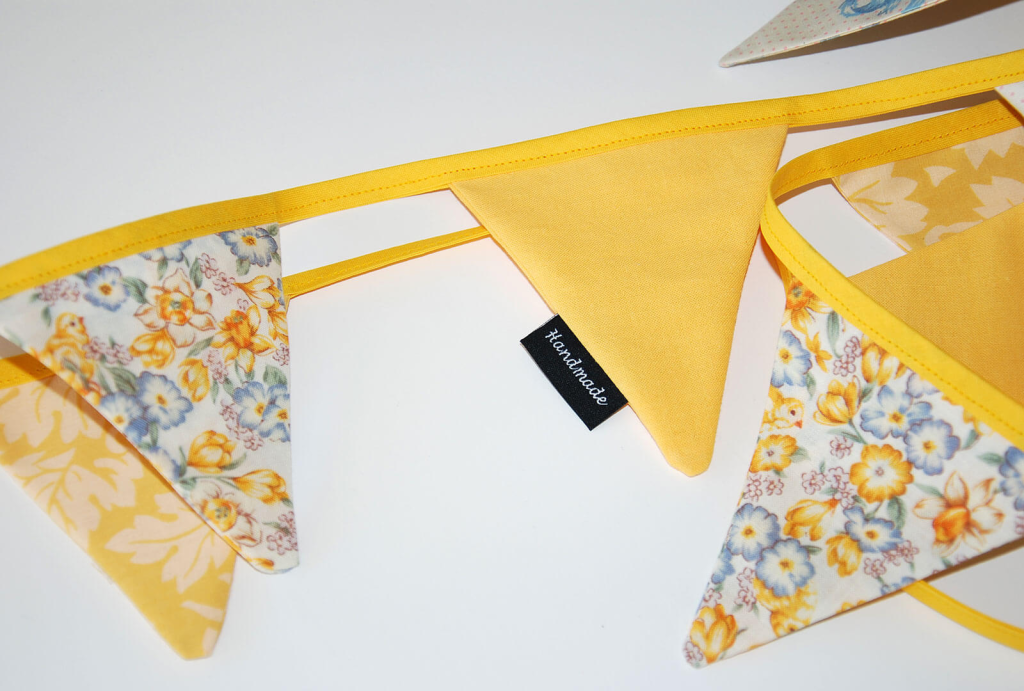
Now your garland is finished and ready to be hung up.

Cozy Easter gifts
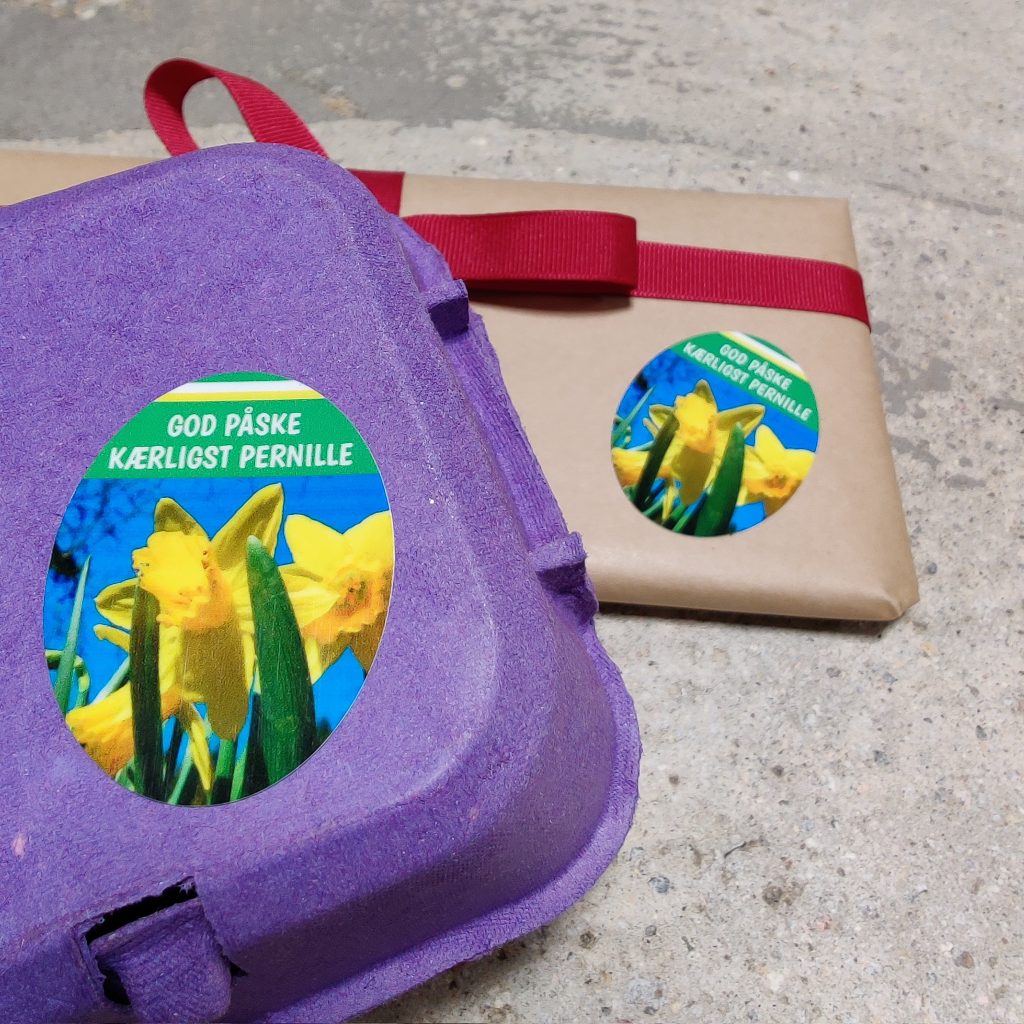
If you’re invited to an Easter lunch, it’s polite to bring a hostess gift for the hostess. Maybe she’ll get an Easter garland or other homemade Easter decorations? When wrapping the garland or something else, you can put a nice sticker on the outside of the gift. In the picture below, you can see an example of a nice sticker with an Easter theme, which is nice to attach to Easter greetings. You can also put stickers on Easter chocolate that you’re giving to family or friends.
Are you familiar with the Danish tradition of “gækkebrev”?
“Gækkebrev” are beautiful paper cutouts that children and adults send to each other in Denmark at Easter. But instead of writing their names, the sender writes dots. If the sender’s name is Gudrun, she would make 6 dots. One for each letter in her name.
If you receive a letter and can’t guess who it’s from, you have to give the sender a chocolate egg at Easter.
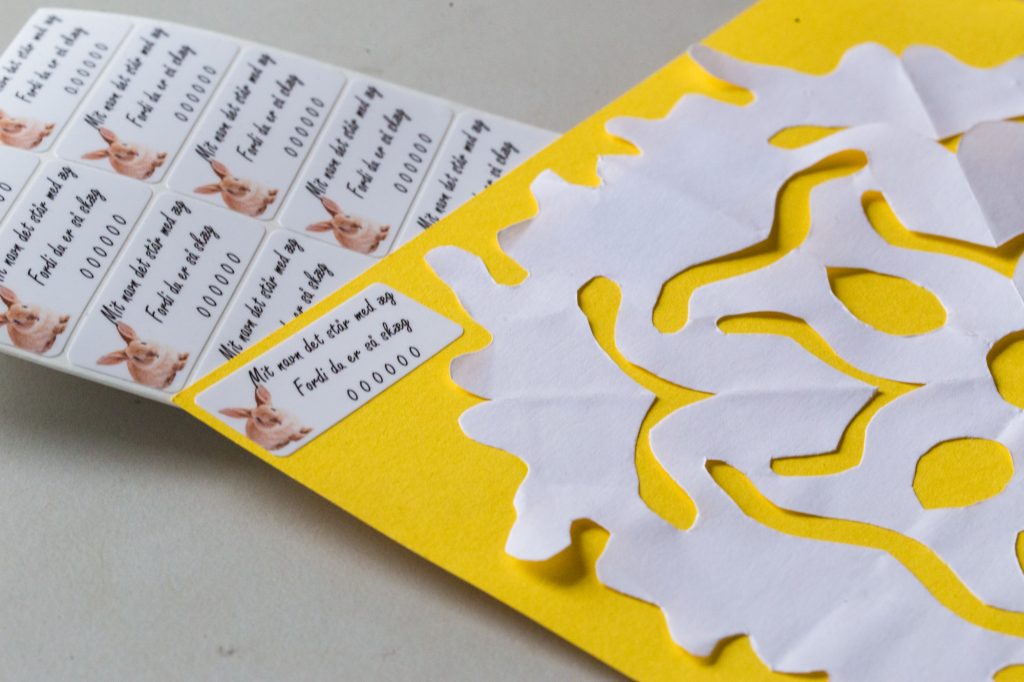
In this example, the sender has been extra secretive and made name labels to put on the “gækkebrev” with dots. You can read more about “gækkebrev” in this blog post.
See also our other blog posts with creative ideas. Feel free to share your own creative Easter ideas with us in the comments section.


